
One of the most commonly asked questions that we receive at Pangolin is, “How do we control our laser projector?”. With the latest innovations in laser show control technology, it can be quite easy to get confused on what to use, given there are so many different that you are able to use to control a laser show projector.
In this educational blog post, we’ll cover the different types of laser show control and the ways that you can control your laser projector, as well as helping you understand which method of control is right for you.
ILDA, The Original Standard For Laser Control

ILDA is the original way to control your laser projector, it’s been around the longest when compared to other forms of laser control. ILDA is an analog protocol, and it is connected using the notorious DB-25 connector, along with a control interface (such as our FB3QS control hardware) to connect your PC and laser together, allowing for control of the laser projector. For the longest time, ILDA has been the standard for laser control, but it contains many core limitations that make it hard to use in a large professional setup.
If you want to control each laser individually, you will need additional control hardware for every single laser projector. This not only drives up the cost of the control hardware but includes the added cost of ILDA cables that are required for the setup.
ILDA has become outdated and is becoming less and less popular with newer more efficient methods of laser control such as our FB4 Control Hardware on the market. FB4 is a media server for your laser shows, which allows you to control all parameters of your laser projector and easily interface with other lighting and production equipment.
Laser Control From A Lighting Console
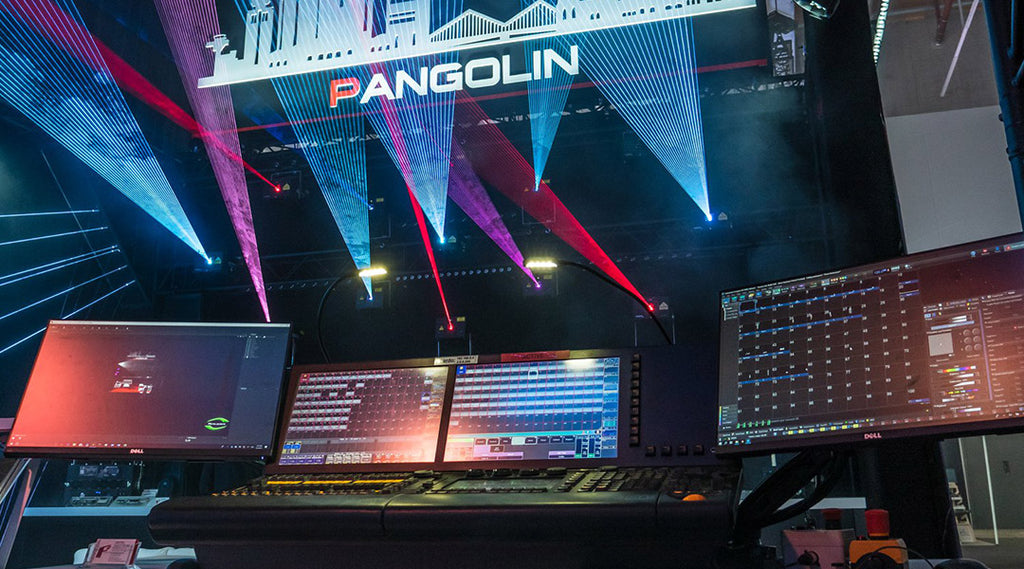
When it comes to controlling your laser from a lighting console you will need a hardware control device such as Pangolin’s FB4 control hardware, which will allow you to store custom-created content on the device’s built-in memory. Many companies will ship pre-made laser content that is already stored in the memory, allowing for more of a “plug-n-play experience”.
Once content has been stored on the control hardware’s memory, you can use various protocols such as DMX512 or ArtNET (depending on which protocols your control hardware can use) to access and trigger that content for live playback, or for use in a pre-programmed show from your lighting console.
DMX512, The Standard Protocol For Lighting Designers
For the longest time, DMX512 has been the most primarily used protocol by lighting designers. It allows designers to operate various functions of stage lighting equipment and apply other various effects to the lighting fixtures from a console.
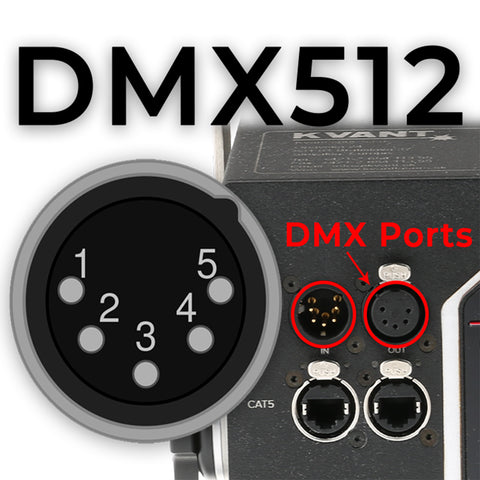
DMX512 operates by sending data from a lighting console using a 5-Pin XLR cable, which looks very similar to a 3-Pin XLR commonly used by musicians, though 5-Pin XLR’s are used more commonly in the lighting industry.
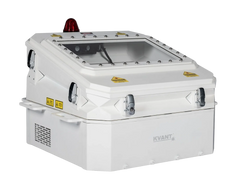
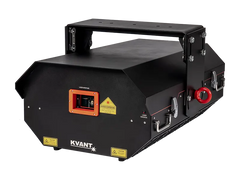
To implement DMX512 in your laser setup, the laser control hardware that you’re using must be able to operate using the DMX512 protocol and contain DMX in/DMX out ports as well. If you’re looking for a laser that features DMX capabilities, all of our KVANT laser projectors, feature the ability to control your laser using DMX, as well as various other protocols and control methods.
ArtNET, Network Based Lighting Protocol
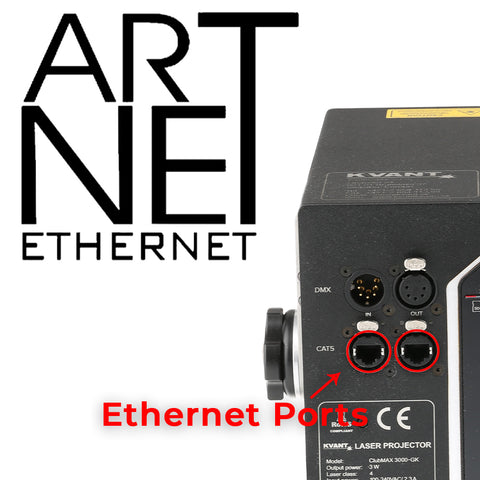
Similarly to DMX, ArtNET is another popular protocol in the lighting industry. Unlike DMX, ArtNET is a network based protocol that sends data using an ethernet cable (CAT5 or CAT 5 cable) instead of a 5-Pin XLR, over network applications.
The same premise applies for ArtNET that it does for DMX, which requires that your control hardware must feature some sort of ArtNET connectivity and also contain ethernet ports to plug your cables into.
All of our KVANT laser projectors with FB4 control hardware include the ability to control your laser using the ArtNET protocol, as well as DMX and other control methods. Though KVANT lasers feature a special version of the FB4 which contains a built-in ethernet switch, which allows you to easily daisy-chain your laser projectors together for quick and simple operation.
Streaming Mode, Direct Control From A PC
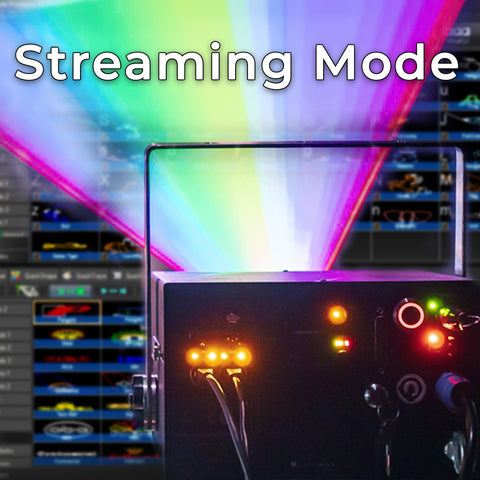
To make controlling a laser fast and easy, Pangolin designed a proprietary method of laser control called streaming mode. Streaming mode allows the FB4 control hardware (whether it's built-in to the laser, or external) to connect directly to your computers ethernet port using a CAT5 or CAT6 cable via the ethernet port on the FB4.
Once connected, you can control the laser projector from directly from your PC using Pangolin’s QuickShow, or BEYOND software, allowing you to get up and running with just a few simple steps. And to make things even easier, when using Kvant laser projectors you can daisy-chain your laser projectors using the built-in switch on the back of the laser to easily create a fully customized multiple projector show.
Timecode, For Easy Synchronization
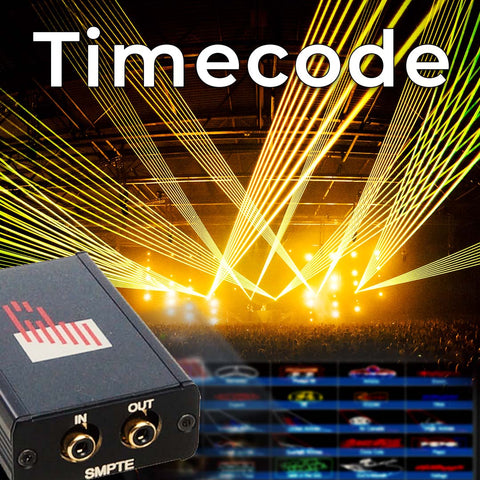
When you want a laser show that is perfectly synchronized, the best option is to control your show using timecode. This is generally done by sending timecode from one device and receiving timecode from another external device, then synchronizing that timecode inside your laser show control software.
Many lighting and laser designers use Pangolin’s TC4000 SMPTE timecode reader/writer, to allow our their laser content and timelines in our BEYOND software to be synchronized with the their other fixtures on their lighting console.
Once you’ve gotten the TC4000 setup with BEYOND, your laser show can start and stop automatically from the incoming timecode, and how you’ve got your TC4000 setup inside the software.
This is a great solution for people who run a lot of pre-made shows, and need their content to be in perfect harmony with one another.
Auto-Mode (aka Stand-alone Mode)

A feature called "auto-mode" which is found on Pangolin's FB4, allows you to program laser content to automatically run at a specified day, date, and time without you having to manually trigger it. The content can be created using Pangolin's QuickShow or BEYOND software, and then exported directly onto the FB4's built-in SD memory.
Auto-mode is great for people looking to temporarily, or permanently install a laser projector, but don't want to have to worry about constantly going back to turn the laser on and then trigger the content inside the software or from a lighting console.